
How to Correctly Adjust Your Headlights
Posted in Motoring Tips
How to Correctly Adjust Your Headlights
Headlights are some of those things that everyone needs to use, every time it’s dark. Most of the time driving at night and using your headlights is a worry free and simple operation, that is until someone appears behind you with their headlights blinding you via your rear view mirror.
When this happens it’s not only annoying but dangerous and distracting for drivers in front of you and oncoming traffic.
So what causes this to happen? Well there could be a few potential reasons; a front end impact could alter the angle of the headlights or crack the casing which holds the light in place, time and vibrations may cause the angle to change and so could replacing the whole headlight assembly.
However, the most likely cause of your new possum spotting headlights is because the rear of the car is loaded up, either with gear in the boot or a trailer on the back. If carrying heavy loads or towing a trailer is a common occurrence then the only viable solution may be a set of load levelling-levelling shock absorbers.
If you’re not weighing down the back of your car but you’re still lighting up the trees rather than the road, fear not as adjusting the headlights is a fairly simple process;
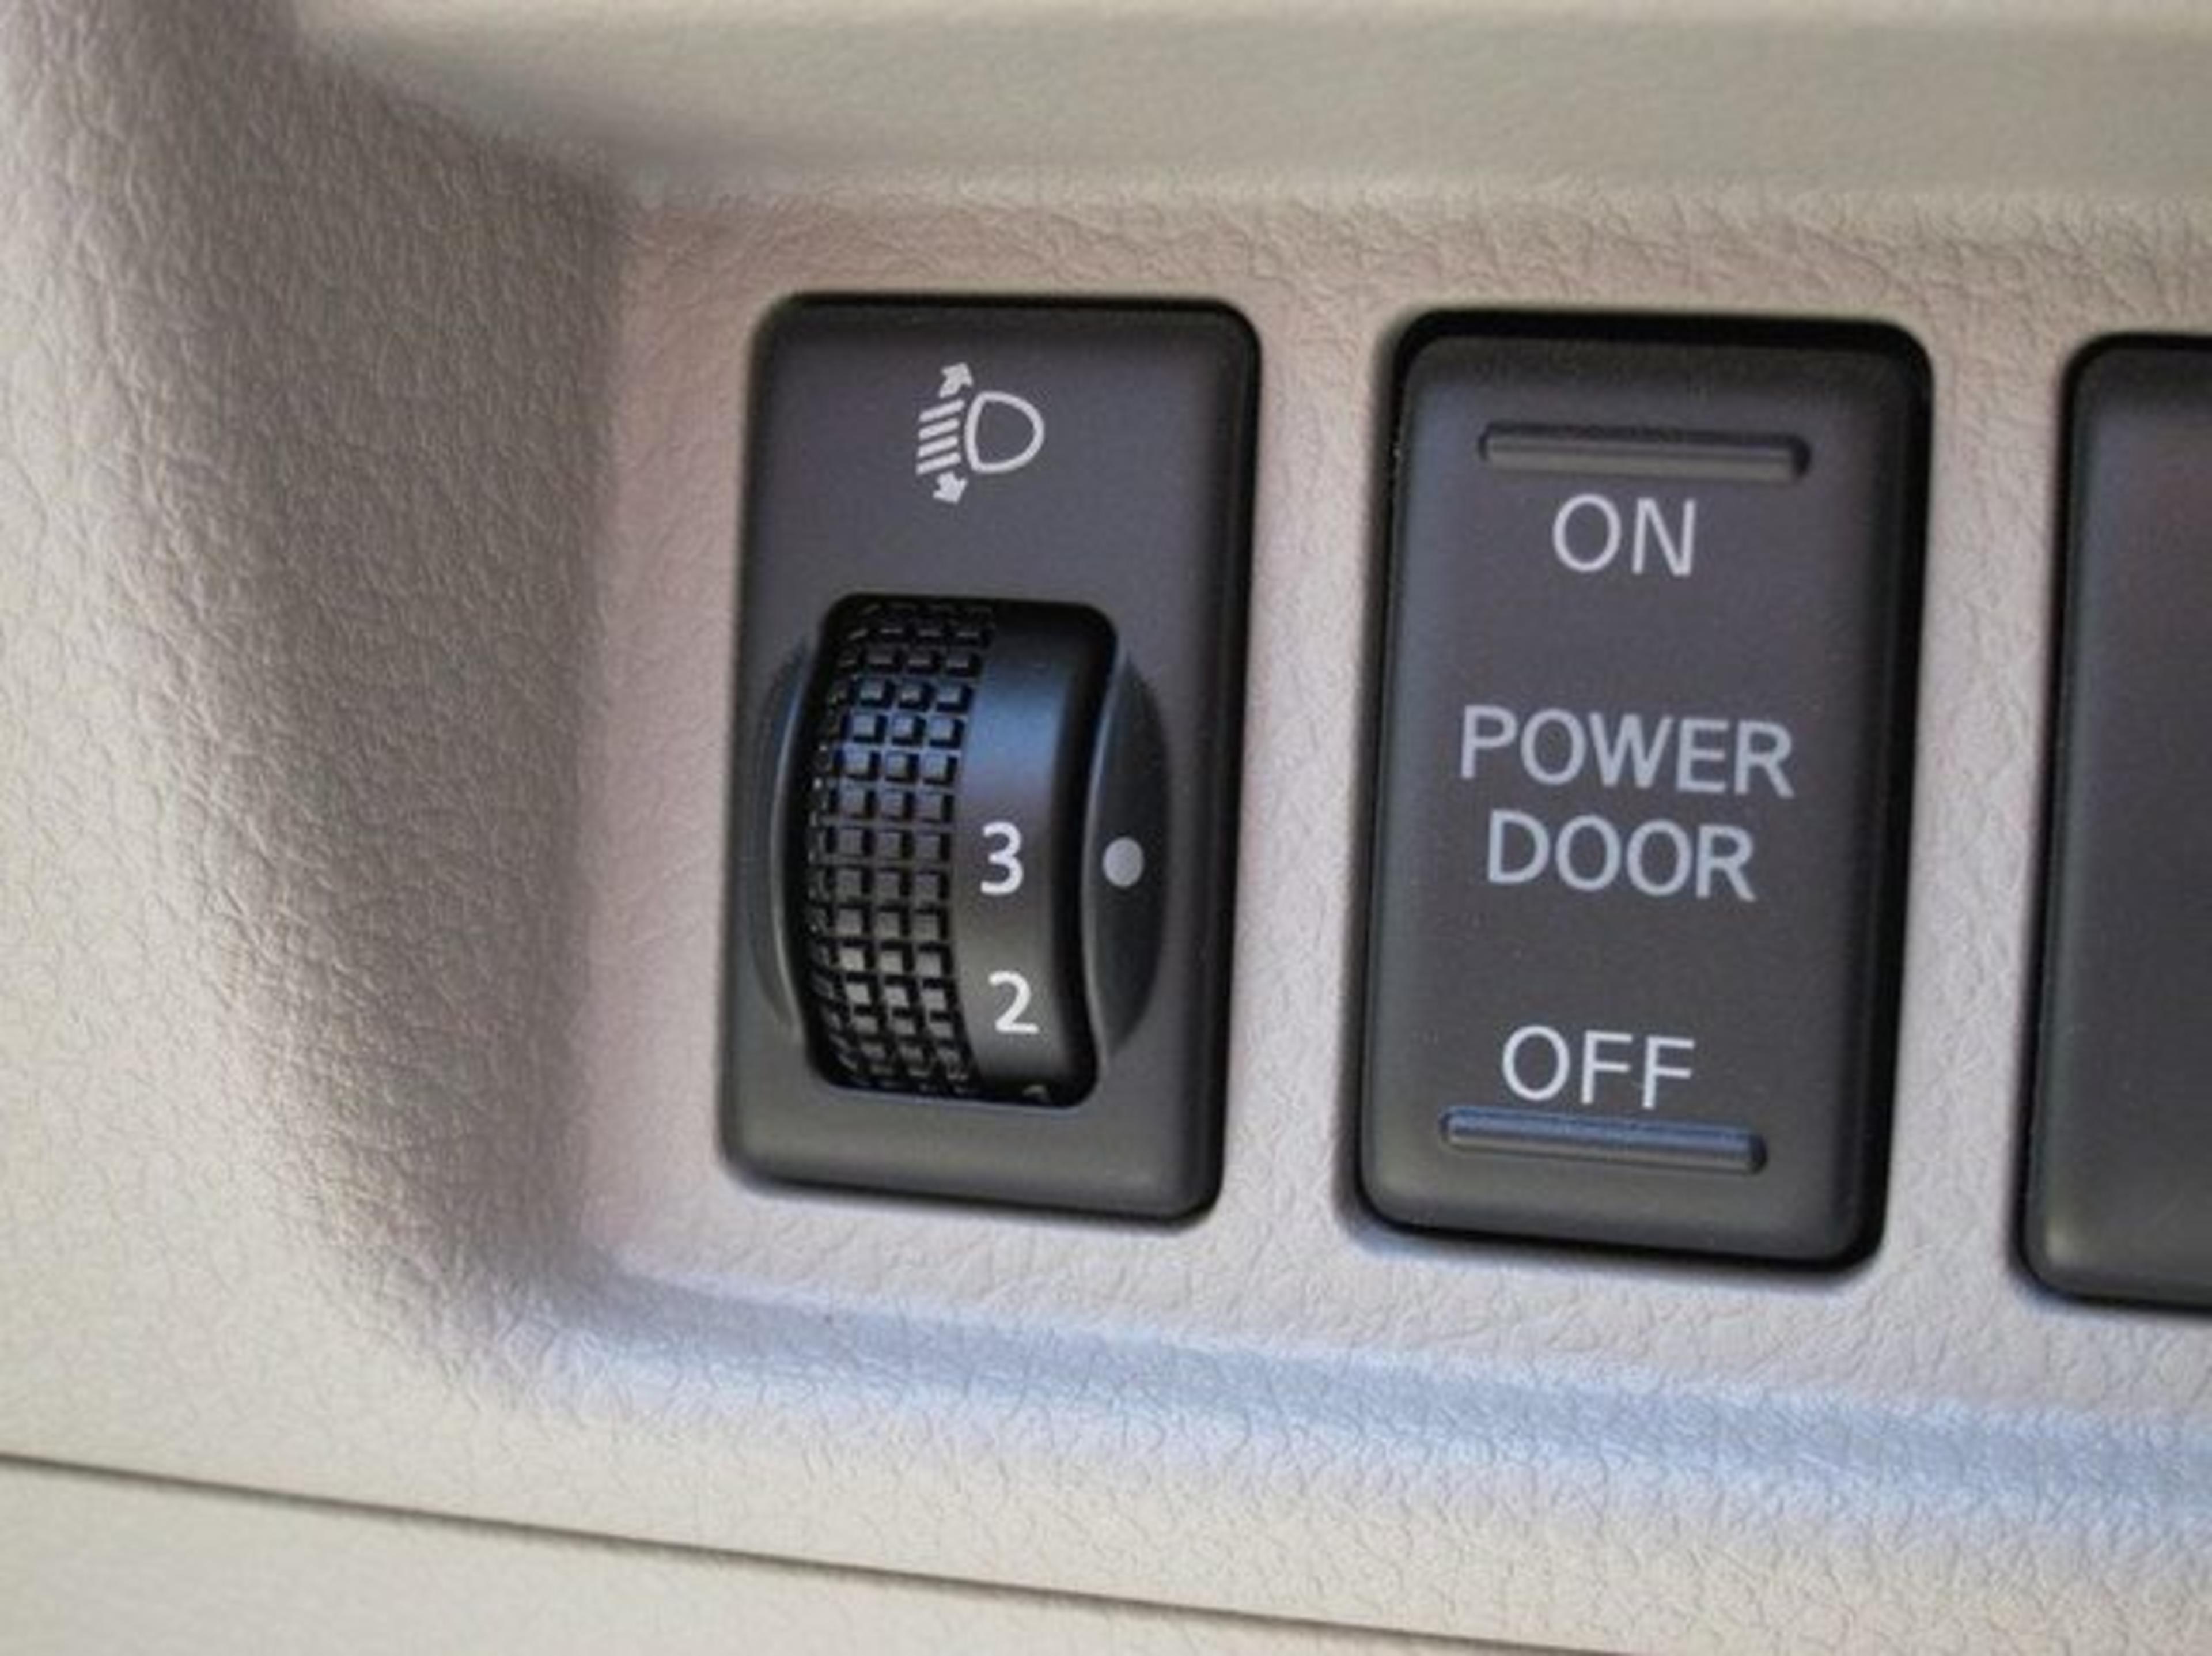
Adjusting Your Headlights from the Dash
In some newer cars, the headlights can be simply adjusted by using a button or knob located near the right hand side of the dash for the driver. However if your vehicle doesn’t have a button or knob use the steps below.
Adjusting Your Headlights from Under the Hood
- Park the car on level ground 7.5 metres (use a tape measure) from a flat vertical surface, your garage wall will work.
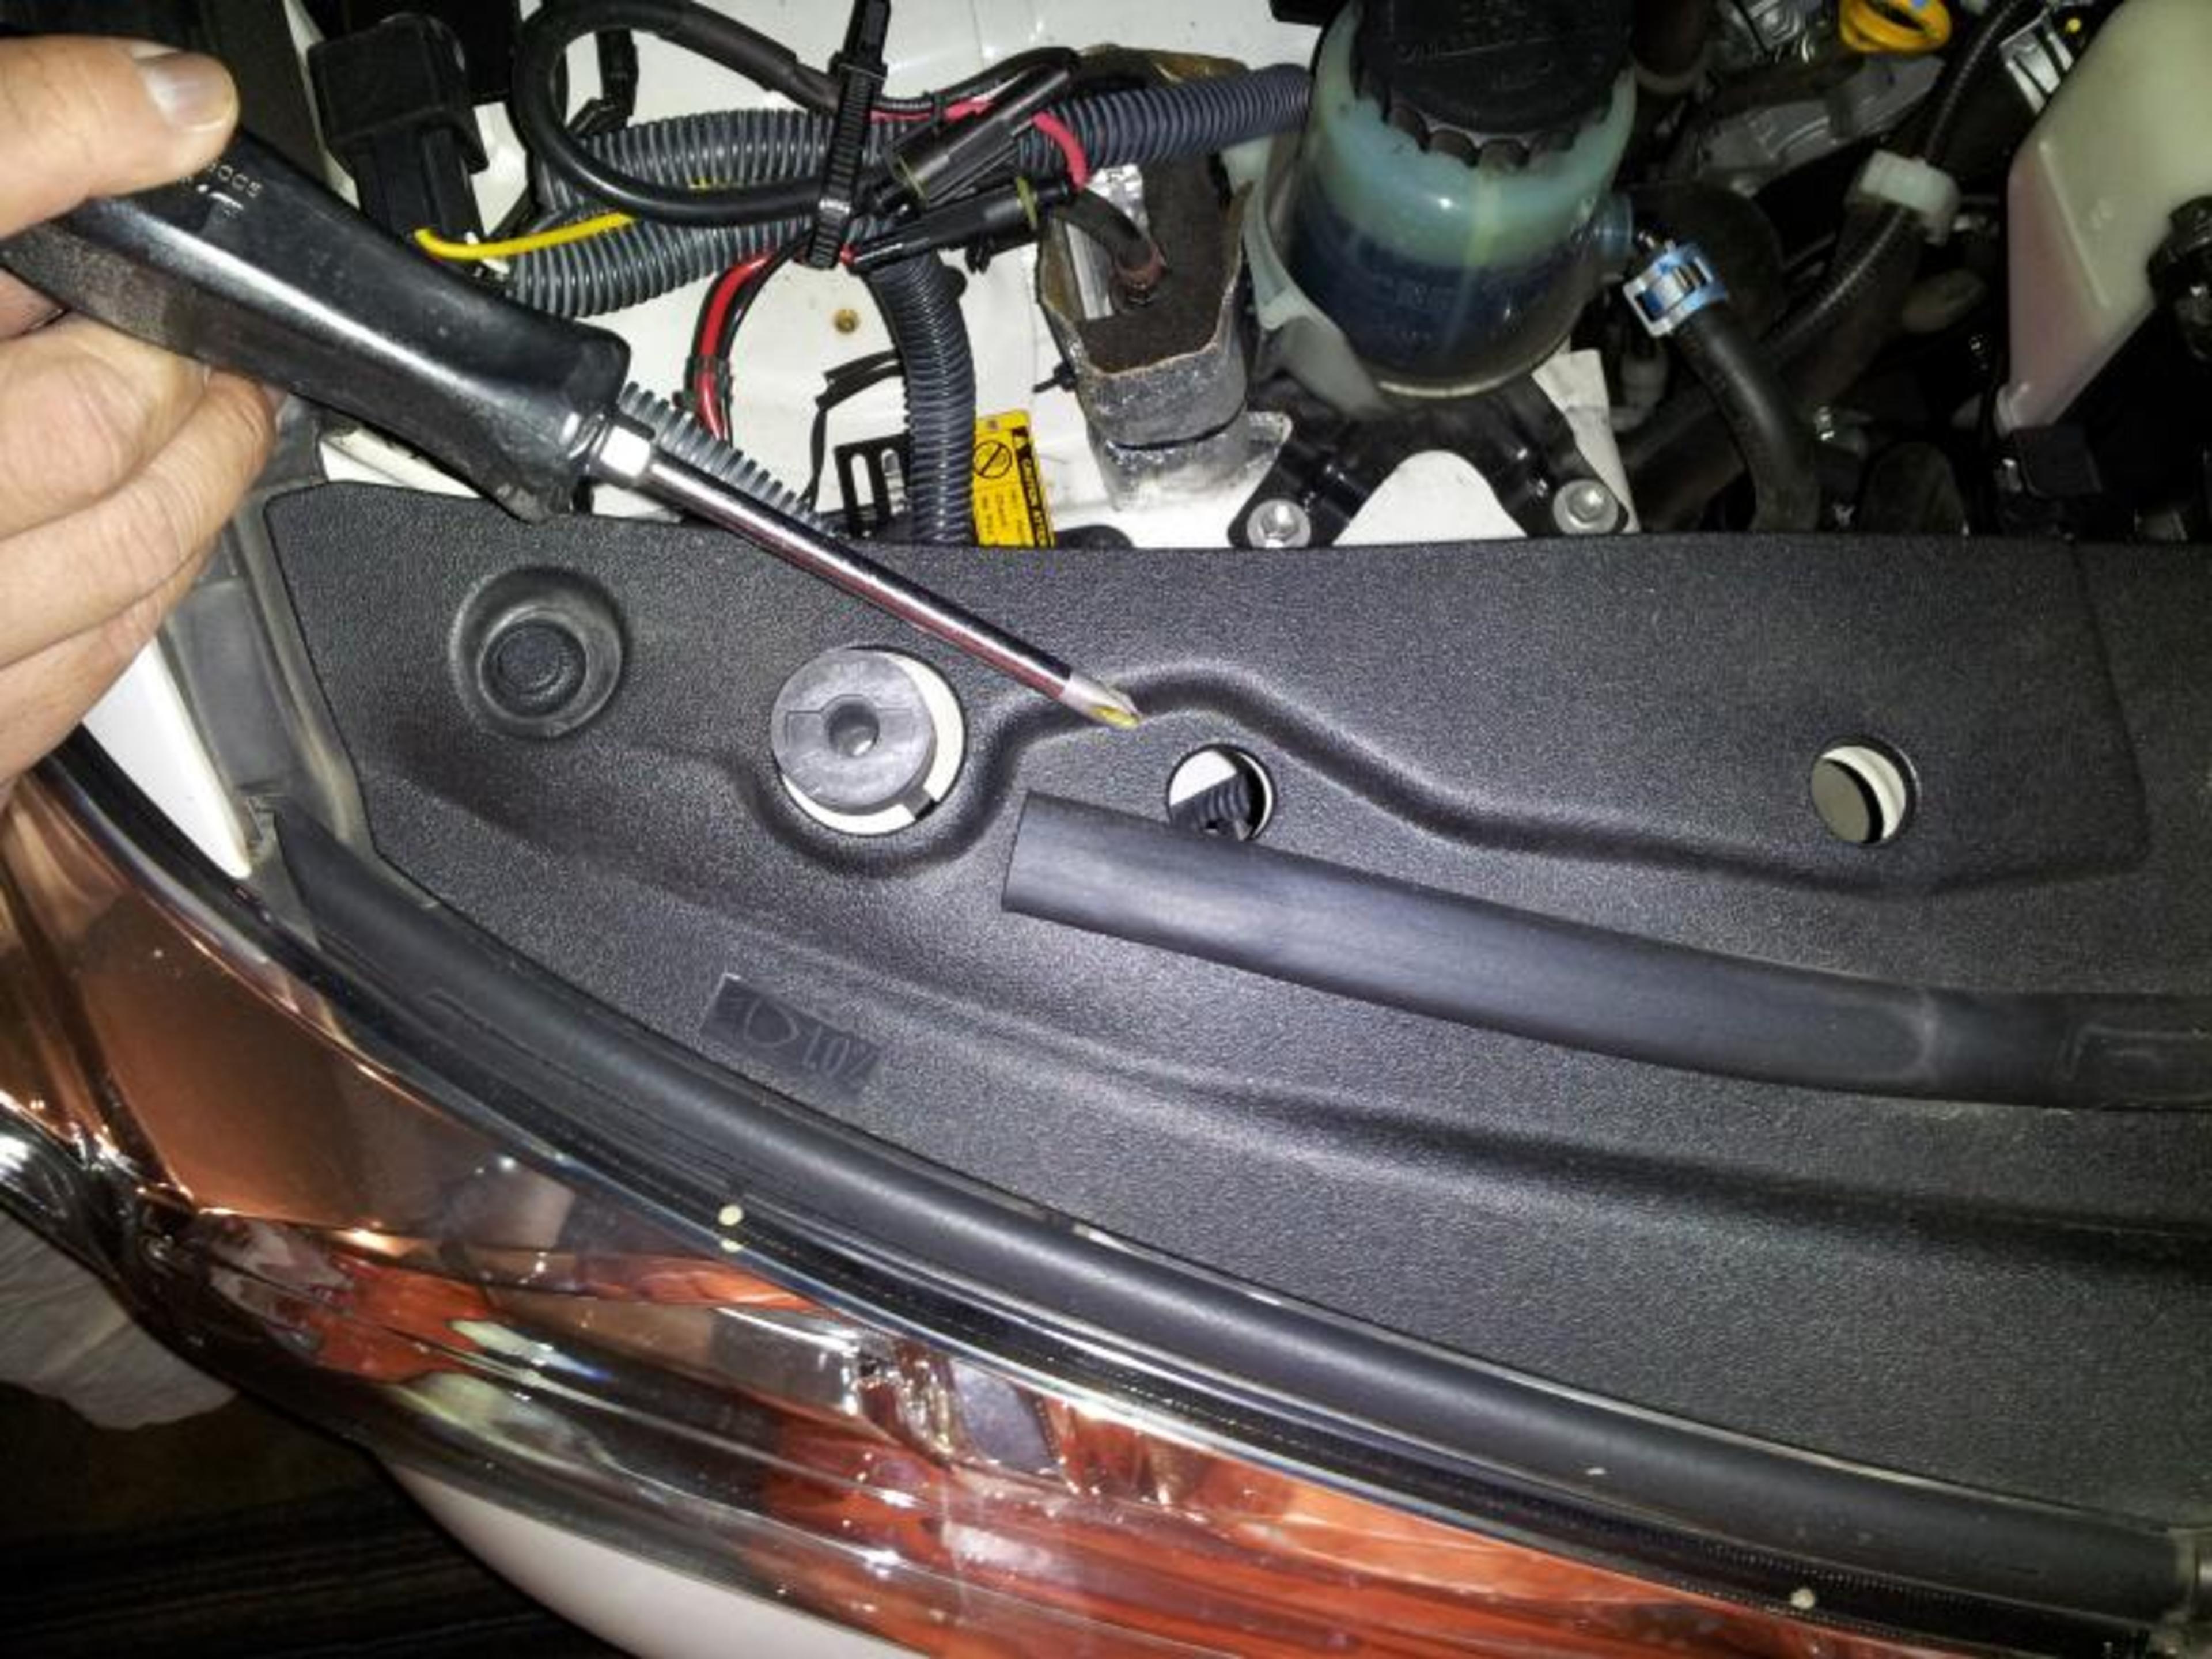
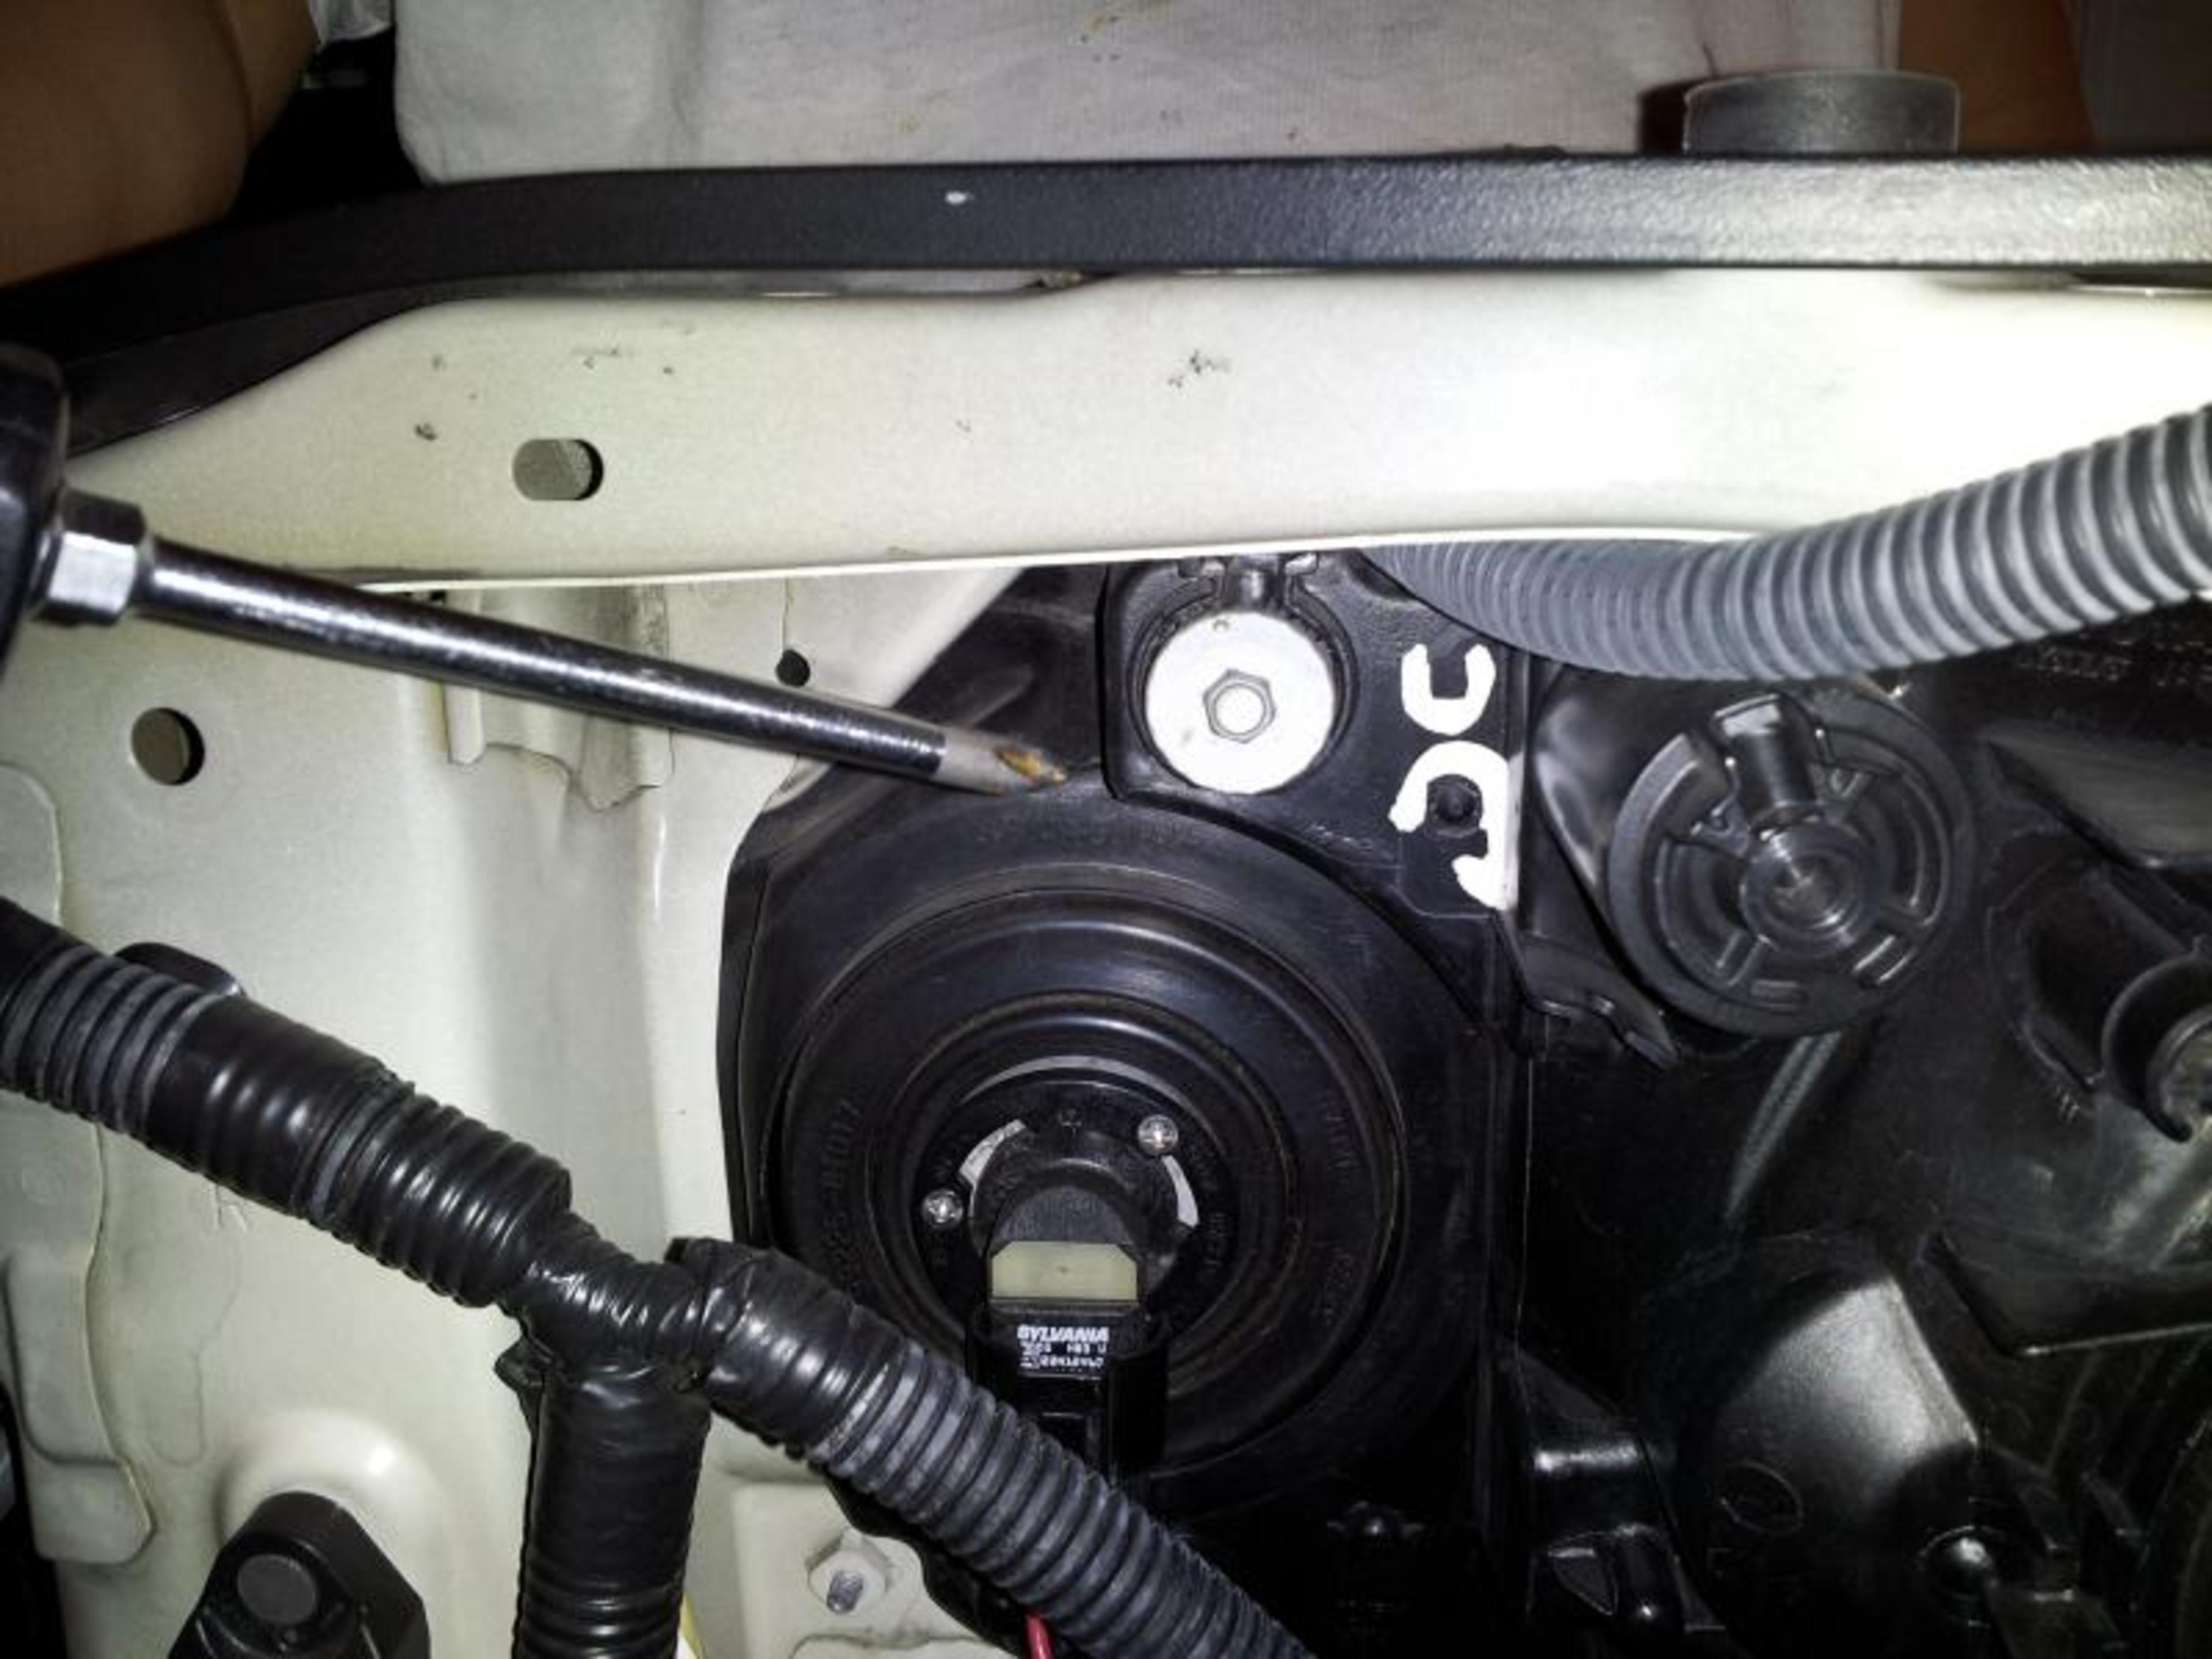
- Open the bonnet and look at the back of the headlight casing, on most models there will be two adjustment screws/bolts on the rear or top of each headlight-locate them and grab the right tool in order to turn them (check the owner’s manual to be sure they’re the right ones).
- Cover one headlight with a towel or similar and turn the headlights on (you may want to have the engine running if your battery isn’t new).
- One screw will adjust the headlight up/down while the other will adjust left/right – keeping your eye on the beam on the wall slowly turn one of the screws to determine which direction it’s adjusting, if it’s not the way you want turn it back to the original location and use the other screw.
- Ideally the beam on the wall should be no higher than the centreline of the headlight with the area of most intensity directly in front of the headlight casing(use your tape measure here again to measure from the ground to the middle of your headlight and do the same on the wall when adjusting – you can even put a mark on the wall to help you aim).
- In Australia you want the most intensity from the left hand headlight on the road shoulder, and as such the top of the headlight beams should display a pair of laidback L shapes on the wall as seen in the illustration.
- Repeat the procedure for the other headlight.
If your headlights don’t appear quite so simple to adjust, it is best to take the car to your local Motorama Service Department for a professional to quickly sort them out.

